INSTRUMENTS > FAQ > SETTING UP TEMPERATURE INPUT
SETTING UP TEMPERATURE INPUT
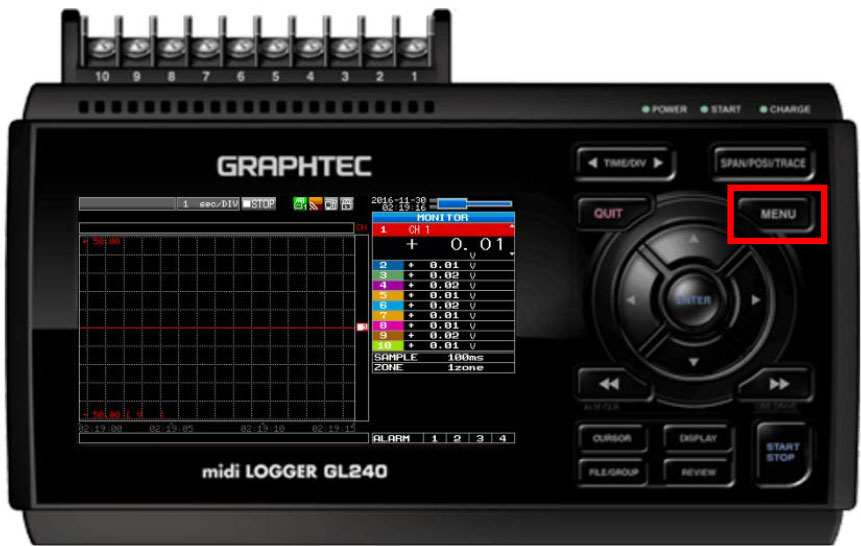
Step 1: After the GL is powered on, you will end up with a screen similar to the one above. To measure temperature the first thing you’ll want to do, is press the MENU button (Highlighted in red).
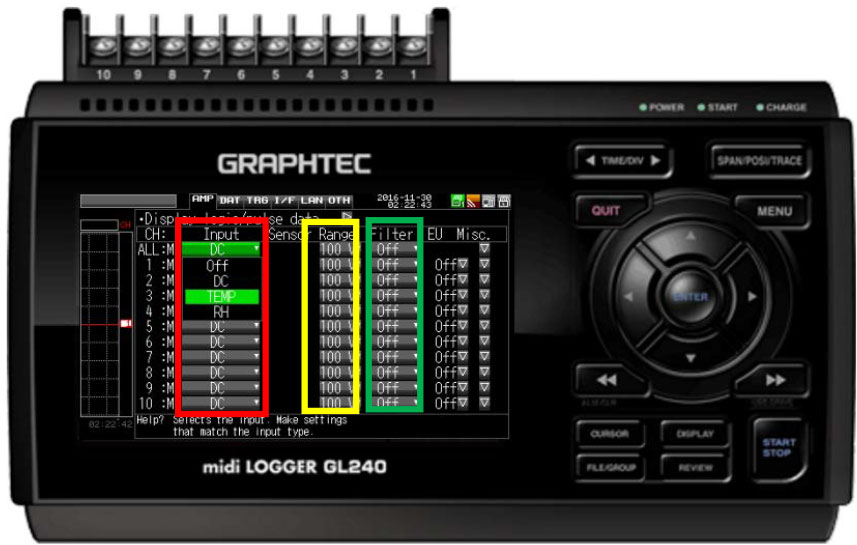
Step 2: Now when at the main menu, you will have a couple of options to choose from. First would be Input (highlighted in red) which will allow you to switch from Voltage, Temperature and RH. Once that I selected, use the Range column (highlighted in yellow) to choose which type of thermocouple or which range you would like to use. You can turn on the filter as well (highlighted in Green), this will depend on your parameters.
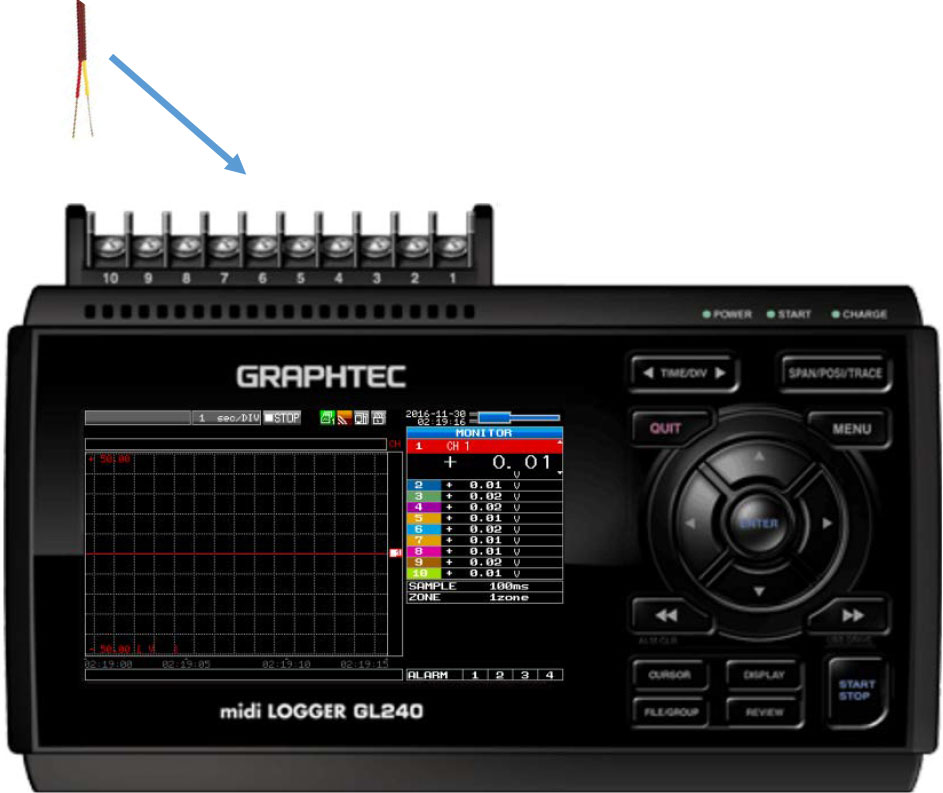
Step 3: Attach the thermocouple wires to whichever channel you would like to monitor.
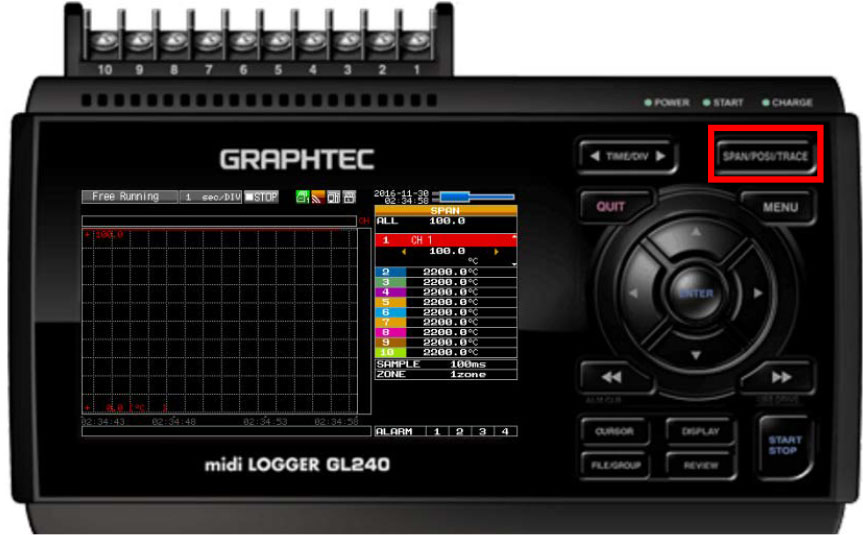
Step 4: As an Option, you can use the SPAN/POSI/TRACE option (highlighted in red) to change the range that you will be measuring your voltage. So if you application goes up to 125 degrees, then you would set the SPAN at 150 or 200 degrees. You can now either monitor your voltage or you can set your device to record so that you can later view the data, this will vary based on an individuals need.